SORRY that I've been so bad about posting recently, I've really not been feeling well, so make up and fashion related things are really taking a back seat. In other news I actually left the house last night for the first time in a while! I was attending a choral concert in Grimsthorpe Castle. It was a lovely evening. I spent a few hours relaxing in the beautiful grounds, and then enjoyed the concert (with my oh-so-cool blanket to make me feel less ill during!). I thought I would post a little outfit and face of the day here. The photos might not be perfect but I'm really just not feeling well.
Outfit
Sorry I didn't take any pictures actually wearing it :(
(New Look dress, Black leggings, and the jewellery were both gifts so I can't tell you where they're from)
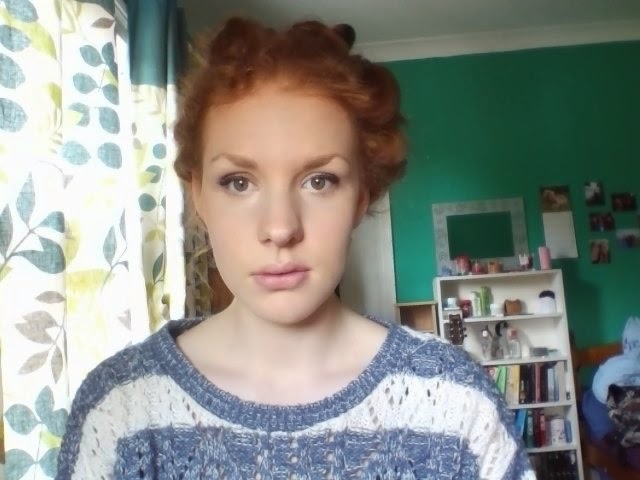
Hair and Make-up
Hair:
I french-braided the front sections, and secured the two braids together at the back of my head using bobby pins. The rest of my hair was just left natural, but I had my hair in two simple braids for a few hours before leaving, just to make my hair less wild. I also used the Aussie Leave-in conditioner to add shine and softness to my hair.
Face:
Rimmel Wake Me Up foundation
Collection Lasting Perfection Concealer
Natural Collection loose powder
Sleek I-divine palettete in the shades Honeycombe and Taupe (Honeycombe all over the lid, and Taupe in the crease)
Collection Fast Stroke liquid eyeliner
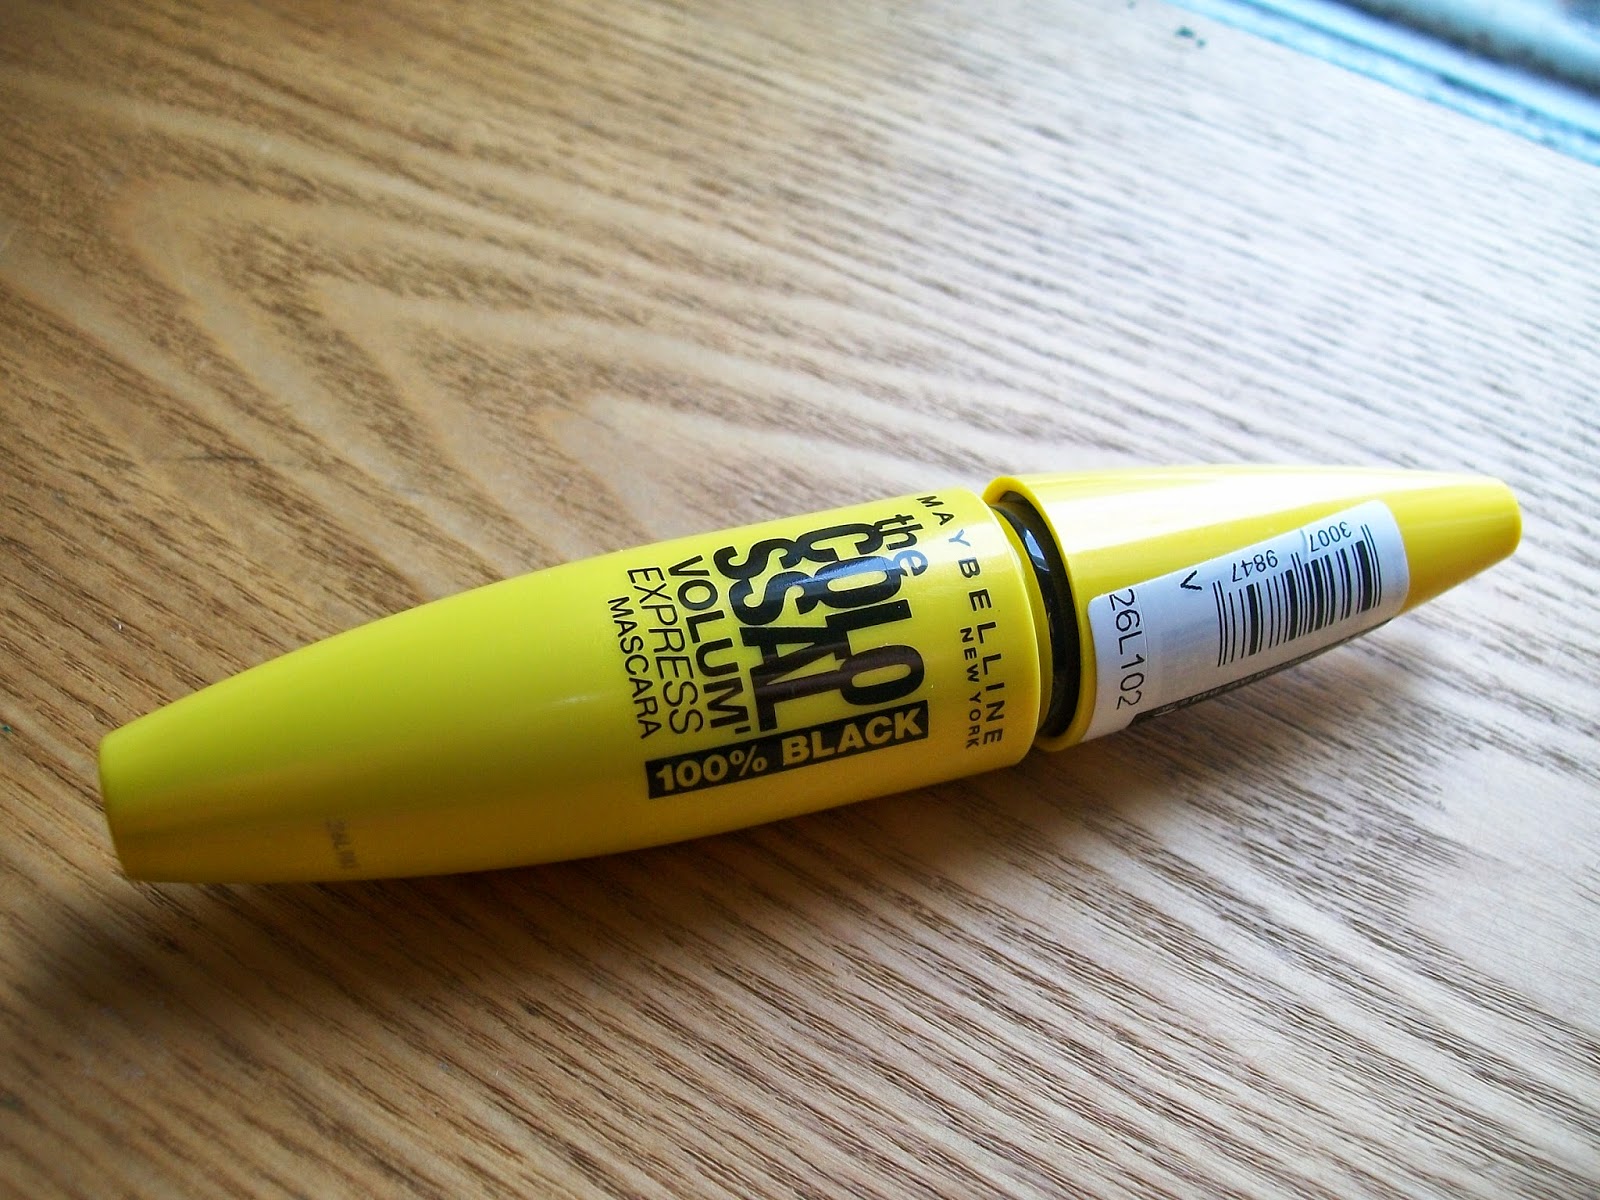
Maybelline Colossal Volume Mascara
Rimmel Apocolips in Stellar
*I really like the formulation, pigmentation and lasting power of the Rimmel Apocolips. This colour wasn't the perfect shade for the dress. The undertone to the red is quite pink, whereas I would have preferred an orangey undertone*
I have been thinking about experimenting with ways to curl my hair, other than the average curling wand/tongs method. I have never had any luck with any sort of curling rollers, but I thought I would try experimenting with a way of combining the two. This is totally experimental, and I will let you know at the end of this post (n.b. if I haven't updated it yet, it means that I haven't taken them out yet). I don't know if this is a method that actually lots of people use, but I know I have never heard/seen anything about it on the internet. Maybe because it will turn out to be a total disaster.. we'll see!
So I began by brushing my completely natural hair. For me that means curls, frizz and a lot of tangles. I then run some LUSH R & B Hair Moisturiser through my hair. Then I section off my hair, leaving only the bottom section out. I clip the rest out of the way. I then isolate the section of hair that I'm going to curl, which I guess is about an inch, though it's not an exact science. I like to vary the size of each section so that the curls aren't too uniform. Next I took my BaByliss Curling Wand, heated to 185 degree Celsius, and curl the section, away from my face. I held each section for 12-15 sections, varying according to how thick the section of hair was that I as styling. Now listen carefully, because I'm not sure how coherently I'll be able to explain this. I next withdrew the curling wand carefully, so that the hair was still tightly coiled, and then replaced the wand with my thumb/finger, so I ended up with the hair wrapped around my thumb/finger. I then gathered all of the hair together, in a motion similar to compressing a spring. So I ended up with a tight coil of hair. I then used a grip to secure it to my head. I inserted the grip into the centre of the coil, where the wand/my finger had been, then gripped outwards, to gather across the hair that was coiled. From there on, it was simply a case of repeating the motion on all of my hair. You will need a lot of grips, though the amount will vary based on how thick your hair is, and how thick each section that you style at a time is. I finished this at around 11:20am, and I am intending to take it out at about 2pm, so it will have a good few hours to have whatever effect it will produce on my hair. Like I mentioned, this is experimental, so I will let you know further down whether it was a success, and if there's anything I would change. I'll insert a video clip here of me doing the first few pieces of hair. My camera quality isn't great, but you're an intelligent bunch, I'm sure having read the description of the method, you'll figure out what I was up to. There was one strand which I got part way through before deciding it was too thick, so if you're wondering why I stopped part way through, that's way. I would have filmed more of me styling this, but to be honest, it would have been very repetitive, as I did the same thing for my whole head of hair. (Disclaimer, the music is by Nina Nesbitt, I don't have any claim to her and her songs etc etc)
...
LATER
Okay it's 2:30pm, and I just took out the curls. I have to say, I think I look like a cross between a Victorian woman, and a china doll. I'll insert the pictures below. I haven't done anything at all to style this, literally all I have done is to remove the pins. My hair look half as long as it normally does, and very tightly coiled. I am going to have a play with styling it, but I'm actually not feeling very well right now, so I can't promise exactly when I'll update this post. Stay tuned though!
And here's a few snaps from a little bit later on, once I'd loosened out all the curls, ran my hands through it, shook my head all over the place, just really messily separated everything out. I have to say this wasn't exactly the result I expected, but it's still pretty awesome. I'm looking forward to seeing how second day hair looks in comparison.
I am currently ADDICTED to listening to the duets by Sam Palladio and Clare Bowen. My sister bought me Series 1 of Nashville, and that's where I heard them, and they are just so poetic, and the melodies are just ebuatiful and I have had them on repeat non-stop. I'll link a few of their songs below, because I want everyone else to hear them and fall in love with them too!
They're just a few of a lot of very good songs, so if you like what you hear, then please go and listen to more of their stuff. It's the sort of things, where I can't pick a favourite because they are all magical, and I can't imagine listening to anything else because these are so damn good!
Yesterday was a beautifully sunny day, I'm talking sun cream and vest tops all round. We took a trip out to visit a friend of ours. We walked the dog in the park with ice creams, and then Mum took the dog home, whilst I stayed out with our friend. We then went to see the local's Bedford Modern School's junior performance of Cats The Musical, as she is a teacher. The performance standard was really impressive, particularly taking into account the performer's age, and the extent that they were doing; dancing, singing, acting, and staying completely feline. The stage set, music and lighting were also a very high standard. It put all of my old school plays to shame, but I suppose that's a given when comparing a private school with a local community college. Anyway, as you all know, I rarely get out, due to my illness, so I thought I would do a little get ready with me, and talk about some new products I've been liking as well.
So firstly, I'll do a quick outfit of the day (The pictures were taken before I'd done any hair/makeup);
(Tesco vest top, New Look shirt, skirt and patterned tights, Belt came from a market in Bath, Necklace was a gift, so I don't know where it's from)
Face of the Day! So I videoed myself applying my make up, but as usual there is no voice over due to the bad camera quality, so I'll describe it all here. Scroll down to see the video!
I started by applying my Rimmel Wake Me Up foundation in the shade True Ivory. I applied this using my eco-tools foundation brush. This foundation has sun protection factor in it, which is always a bonus when England decided to pretend to be a sunny country. I never rely on foundations alone to prevent sunburn, but extra protection is always a good thing. I then went over any areas then I wanted a higher coverage on with my Collection Lasting Perfection concealer in the shade Fair. I just used the doe foot applicator, then blended it with my fingers.
Next I touched up my brows using my Rimmel brow pencil in Brown. I used the brush to tidy up the brows, then filled them in using the pencil. Then I brushed through them again, just to ensure that the product if evenly distributed. The I used the eye-eye eye-shadow crayon from Seventeen, in the shade Platinum. I use this all over the lid as a base for other eye-shadows. I find that it's a really good base, as it makes other shadows stay better, and the colour comes out stronger. Also, it's a little shimmery, so it can add a bit of sparkle to matte eye-shadows, without going full on disco ball. The only downside I find with this product is that if it's worn for a long time, it can cause your eye-shadows to crease.
Then I used my Sleek I-divine palette in Au Natural. I used the shade Toast all over the lid, then used Moss to darken the outer corner and crease. I then used Nougat to highlight the inner corner and the brow-bone. Then I used my Rimmel soft Kohl eyeliner in brown, then used a Cosmetics Smudger to make it smudged and bended into the eyeshadow, as I wasn't in the mood for a really strong defined eye liner look. I was using all brown toned colours for my eye look, because a) they are nice a warm to go with the warm sunny day, and b) I find that brown and blue bring each other out well, and as you know my outfit was pretty blue themed. Then I used my new favourite mascara, the Colossal Volum' EXPRESS by Maybelline. This is just a really nice lengthening mascara, that gives a bit of volume without making your eyelashes super-clumped together.
Next I used my Rimmel Stay Matter powder, just to set everything, and stop my skin from looking oily or shiny throughout the busy day. I then added a splash of lipgloss, using the No. 7 high shine lip gloss in Coral Kiss. This doesn't add much in the way of colour, but gives a nice shine, and wakes up dry looking lips.
For those of you wondering about my hair, I simply put it in a French braid the day before, after I got out of the shower. Then I simply unplaited it, and let it be, not brushing, to styling products, just let it fall how it was. It wasn't a normal french braid, but I can't remember the name of this type of braid, comment down below if you can remind me!
So that's it for my get ready with me post, I hope you enjoyed it! Let me know if you think I should do more of these, or any other requests. Here is the video of me applying the make up. The phone rang just before I applied my eyeliner, hence the quick cut there. The music is Ingrid Michaleson, from her album Everybody. All credit goes to her. I was feeling pretty ill when I filmed this, so sorry if it's not a bright and smiley video that you sometimes see.
xo
Thursday 15 May 2014
Just a friendly reminder that overnight braids are your friend!
I have recently seen a lot of love on YouTube/various blogs for the Maybelline Colour Tattoo cream eye shadow. I was really interested to see if they were worth the hype, and had tried a few testers in boots before, but never gotten around to buying one, because I'd just bought a different eye shadow palette, and I tend to be quite guarded when it comes to spending money, particularly on makeup, as although I love is, and experimenting with different looks, I actually don't wear it that often as I am unwell and most days I am just at home with my dog, so I'd rather let my skin breathe. However, my lovely sister sent me a parcel of a selection of different beauty bits to try out, and use. It was so generous and unexpected of her, and I am so grateful. She knows that I've had some not very nice things happening in my life recently, and wanted to cheer me up.
Whenever I hear people raving about this product, they always tend to say the say sort of things: They have fantastic pigmentation, really good staying power, and can make it look like you've spent ages on your make up, when really you've just swiped a bit on the lid using your finger. I would agree with all of the above. They mean it when they say colour TATTOO. I can't say that I ever wear make up for 24 hours, but it definitely lasted all day. One downside to this is that is can be a bit difficult to remove, especially with a brighter, shimmery shade. I really like the shimmer in this, it's really pretty and super sparkly without being clumpy and tacky.
There are 10 shades. Some of them can be worn as just a quick everyday shadow, which takes no effort at all but looks lovely. I think the best shades for that purpose are 35 On and On Bronze, 40 Permanent Taupe and 55 Immortal Charcoal. There are also some CRAZY colours, which I think could be really fun to experiment with. Personally I wouldn't use a colour like 15 Endless Purple or 20 Turquoise Forever in an everyday look, but the shimmer and brightness means that could really highlight and add to a more complex party look. There is a black colour, 60 Timeless Black, which I think would just perfect for adding depth and shadow to a strong smokey eye. The formula of these shadows is such that they blend really well, and can really vary in the colour they show, depending on whether you choose to layer it on thick, or smudge it out.
The shade that I have is 75 24K Gold, and I am SO grateful to my sister for this, because I know that if I saw it the shop I would have been afraid to pick it up, because this colour is seriously bright, and looks very yellow is the packaging. However, when it's on the skin, is blends out to a lovely sheen of golden glitter, which catches even the slightest bit of light. I think this will be really useful for sprucing up a previously dull eye shadow look, into an eye-catching glamorous look. My first thought when I first saw how this applied was "Bring on Christmas, I am sorted for any party that comes my way!" I think that paired with a red lip, it would be a showstopper. However it doesn't have to be a full on shimmery look, we all know that that is often too much for general wear, but I think that if applied with a small brush, it could be used as a touch of shimmer to highlight a more subtle shadow look.
When I did some research into this product, I found out that the price was £4.99. I was astonished! I was expecting it to be more around the £7 mark, especially from Maybelline, as they are some times pricier compared to other high-street brands. I think this is a very fair price, especially as it is so pigmented, so a little goes a long way. Some of the colours I think are a bit dubious for my taste, but if you are into bright eye shadow looks, then you will absolutely love these!
Sorry but I'm not feeling so great, so I couldn't quite face trying to sort out my camera (which can be a bit temperamental) and lighting etc, so I'll include some picture below, and link their source.
I'm deciding to make a mini-series, with videos of me doing a selection of different braids for you. I know that I find my hair a lot easier to manage now that I know some different braiding techniques. The first video shows how to do a basic French braid, and a basic fishtail braid. The audio quality of my camera isn't great, so I'll talk you through it by text on here.
So I start by brush through my hair, then using some LUSH R and B hair moisturiser. This stuff is really nice, and gives your hair so much shine, and a lot of moisture. I don't think I would recommend this to you if your hair has a tendency to go quite oily, just because I think it would turn out to be too much moisture. However if you have drier, damaged hair, it is really effective and hydrating.
Lets start with the French braid. So I've done this look as just one French plait, using half of my hair, as if I was planning to wear it as two braids. This is because I think that when you are just learning French braids, two is easier than trying to use all of your hair at once, particularly if it's thick hair like mine is. So as you can see in the video, you need to take three quite small pieces of your hair from the front, right by the parting. I tend to pick up one piece that is dead on the corner between my parting and my forehead, then pick up another piece from each side. Start by doing a basic braid with these pieces, but just one cycle. Then add another piece of hair- same sort of size as the other pieces- to the section you are about to move next in the braid. Once you're secure with your newly sized section, move it to the middle on the braid, as per your usual basic braid. Repeat this step with the new leading strand of the braid, and move that to the middle. From then on it's just that simple, keep on repeating it until you have all of your hair into three sections. Once your hair is all in the three sections, just continue braiding like a basic braid, until you reach the end of the braid, then secure it with a band.
TIPS: I would advise erring on the side of a looser braider, because if it's too tight and you make a mistake, it's more obvious. -Chill out when doing this braid, you have all the time in the world, so it doesn't matter if it doesn't go perfectly, just settle into the rhythm of it. -Sometimes I find using a mirror counter productive, because I end up getting confused between which head is which, which way is which. Maybe that's just my small brain, but I suggest that as soon as you can, try it without a mirror.
And now for the Fishtail braid. This braid is really nice and easy, whilst looking pretty lovely. It can really suit any look, from super carefree and casual, to a formal event. So same as before, I will just be using half of my hair. Not for any particular reason, as it's pretty easy with the whole head of hair as well. It just depends on you, and what look you prefer. So start with your hair brushed out, and the section your hair into two. Try to get the sections pretty equal, but don't stress much about it, this braid really suits the messy look. Right, listening carefully? This bit sounds complicated, but it's really not. From the back of one section, take a small section of hair, and bring that over to join the other section. Let it be absorbed into the other section. Then you want to do the exact same but the other way round. Take a piece of hair from the back of the other section, and cross it over to join the first section. It's like you're replacing the piece that you just gave away. From there on it's easy as can be- just do the same thing all the way down the braid! Once the braid in complete, secure with a band. I prefer using a clear band. The next step is optional, and depends on your own style. I like to really loosen the braid, which I do by starting at the bottom, and then just gently tugging at the braid, pulling it wider. I move up the braid towards the top of my head. Spend as much or as little time doing this as you like. The more you do it, the messier and wider the final result will be.
Here's the video showing me doing both of these braids, apologies if I seem messy and distracted etc. We adopted a dog yesterday, and he's laying on his duvet next to me. He's still not completely settled in, so that's why he was taking up my attention.
Keep an eye out for the next post in this series, it will be a French braided half-up half-down look. Not 100% sure when it'll be up, that will depend on how ill I feel, and how the dog is :)


.jpg)
.jpg)